
The Step-by-Step Guide to Popcorn Ceiling Removal
- ikram081
- Apr 25, 2023
- 3 min read

A popcorn ceiling is a type of textured ceiling that has been popular since the 1970s. It is made up of a mixture of joint compound and paint, and it has a rough texture that resembles popcorn. Unfortunately, many popcorn ceilings contain asbestos, which can be hazardous to your health if disturbed or inhaled. Therefore, it is beneficial to remove any popcorn ceilings in your home as soon as possible.
Removing popcorn ceiling can be difficult and time-consuming, but it's worth the effort for your and your family’s safety. . There are several methods for removing textured ceilings safely, such as scraping them off with special tools or using chemical strippers to dissolve them away. You may also need to replace acoustic ceiling tiles if they were used in the installation process. Once removed, you should have a smooth surface that can be painted or wallpapered over for an updated look.

Prep Work
Removing popcorn ceilings can be a daunting task for homeowners. It requires a lot of preparation and safety precautions to ensure the job is done properly and safely. This includes covering furniture and any other items in the room to protect them from asbestos particles, as well as preparing the walls for the removal of the drywall acoustic texture ceiling.
Start by removing all the furniture in the room, then tape plastic sheeting to the surrounding walls and doorways. Be sure to cover electrical outlets and air vents. If you have ceiling fans or light fixtures that could get damaged or dirty during the removal process, consider taking them down or covering them with plastic. Since you'll be spraying the ceiling with water, you'll need to temporarily shut off the power to the room you're working in to avoid the risk of electrical shock.

Spray
Fill a spray bottle with warm water, spray one small section (10 square feet) of the ceiling at a time, then let it sit for about 20 minutes. Don’t oversaturate the popcorn coating as it could damage the underlying drywall surface.
Do not soak the ceiling since too much moisture could damage the sheetrock underneath the popcorn texture. Work in small sections no larger than a four-foot by four-foot area.
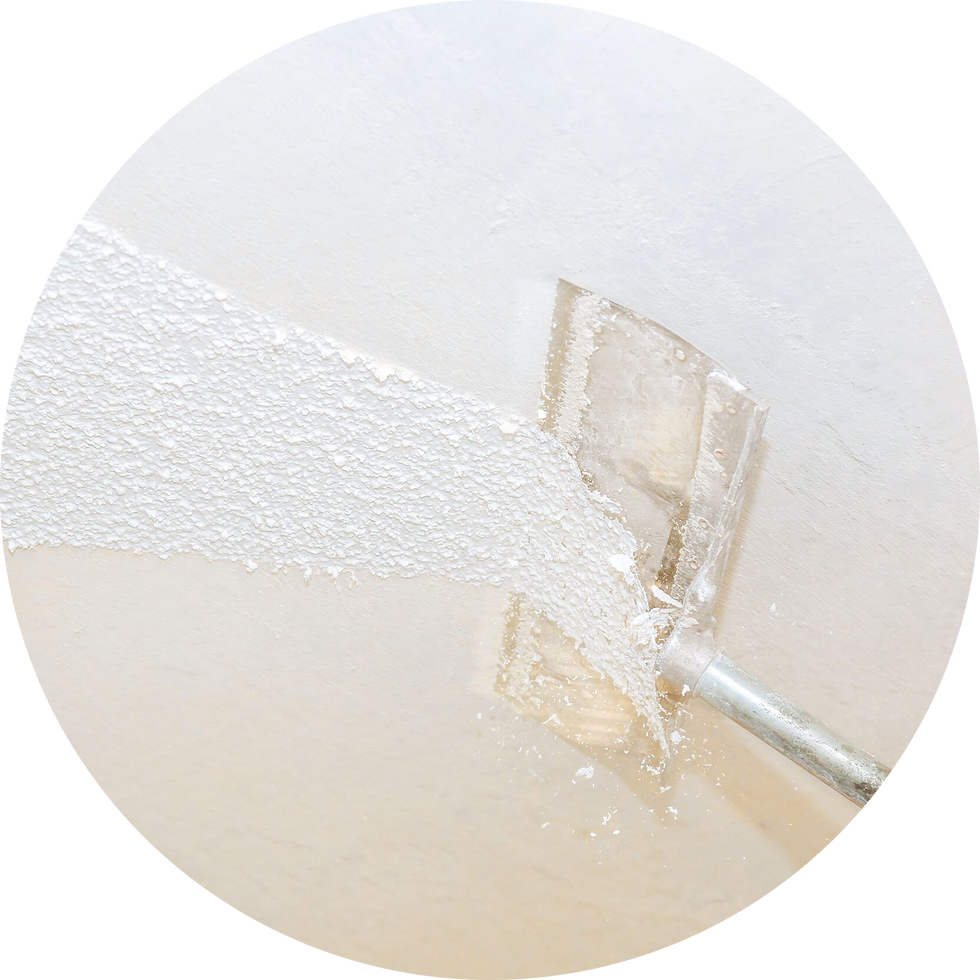
Scrape
Once you have lightly sprayed a small section, start scraping. Hold the scraper at an angle and scrape off the texture, working in straight lines to avoid gouging the smooth ceiling underneath. Repeat the process in sections of four square feet at a time until the entire ceiling is smooth.
It should come off very easily. If not, soak it some more, but be careful not to soak the ceiling too much. Too much water can cause damage to the drywall tape and underlying drywall that you will find behind the popcorn stubble.
If using a ceiling texture scraper, attach the refuse bag to the scraper (most scrapers will come with this functionality). This way, you can throw the popcorn stubble from the catch and place it right into the garbage instead of having to wipe it all up again on your floor.
If your room is tall, use a scraper with an extension pole so you can reach better.

Clean Up
Before touching up with drywall compound, roll up the drop cloth and plastic sheeting. You then take them outside and properly shake them out into a garbage bin. Lay the plastic sheeting back down, or lay drop cloths before proceeding.
Once you've scraped the entire ceiling, use a putty knife to patch gouges and imperfections with your joint compound or spackle.
Lightly sand the patched areas and any other rough spots to ensure the entire ceiling is smooth.

Prime and Paint
Paint the ceiling using a roller with an extension attachment. Flat or matte finishes will hide imperfections, so they are most often used for ceilings. Ceiling paint is explicitly made to roll on with minimum splatter and will resist yellowing over time.
Depending on the paint you use, you may need to apply a layer of primer before painting. However, many ceiling paints come as a paint and primer in one. Pour some paint into your painting tray, then use an angled brush to paint the edges where the ceiling meets the walls. Then, use a roller brush to roll on a fresh coat of paint. Let the paint dry completely before painting additional coats, if necessary.
Popcorn ceiling removal is an important task that needs to be done in order to maintain the structural integrity of a home. It is also necessary for aesthetic purposes, as it can make a room look outdated and unappealing. Removing popcorn ceilings requires specialized tools and techniques and should only be done by experienced professionals. By removing popcorn ceilings, homeowners can ensure their homes are safe and attractive for years to come.


Comments